Midmark M11 Ultraclave User Manual: A Comprehensive Guide
This comprehensive manual details the safe operation, maintenance, and troubleshooting of the Midmark M11 Ultraclave steam sterilizer,
ensuring optimal performance and patient safety within medical and dental settings.
Prior to installation or use, thoroughly review this manual to understand all procedures and guidelines,
as outlined by Midmark for reliable and secure operation of the equipment.
The M11 Ultraclave, with its large chamber, optimizes sterile instrument availability,
reducing sterilization time and effort, while adhering to strict safety protocols for both staff and patients.
The Midmark M11 Ultraclave represents a significant advancement in tabletop steam sterilization technology, designed to meet the rigorous demands of modern medical and dental practices. This user manual serves as a comprehensive guide to understanding, operating, and maintaining this critical piece of equipment. The M11 boasts one of the largest chambers available in a tabletop autoclave, maximizing instrument throughput and streamlining workflow efficiency.
This sterilizer is engineered for reliability and safety, adhering to stringent industry standards. It’s crucial to understand that this manual is intended for trained personnel responsible for the operation and upkeep of the M11. Midmark prioritizes patient and staff safety, and proper adherence to the guidelines outlined within this document is paramount.
The M11 is suitable for use in diverse healthcare environments, including medical offices, dental clinics, hospitals, and surgical centers. This manual will detail the various cycle types, operational procedures, and troubleshooting steps necessary for optimal performance. Remember, unauthorized repairs or modifications may void the warranty and compromise safety;

Safety Precautions and Guidelines
Prioritizing safety is paramount when operating the Midmark M11 Ultraclave. Always read and fully comprehend this manual before installation or operation to ensure safe and reliable performance. Qualified personnel must be thoroughly informed about all contents and procedures detailed herein. Never attempt to operate the sterilizer without proper training.
Caution must be exercised regarding steam and hot surfaces during and immediately after sterilization cycles. Avoid direct contact to prevent burns. Ensure the unit is properly grounded and connected to a dedicated electrical circuit. Do not operate the sterilizer with a damaged power cord or plug.
Regularly inspect the chamber door and seals for damage, and never attempt to force the door open during a cycle. In the event of a malfunction, immediately discontinue use and consult the troubleshooting section of this manual or contact authorized Midmark service personnel. Always follow established infection control protocols.
Intended Use and Applications
The Midmark M11 Ultraclave is designed for the sterilization of medical and dental instruments, utilizing steam under pressure to eliminate microorganisms. It’s intended for use in a variety of healthcare settings, including medical offices, dental practices, hospitals, and clinics, where sterile instruments are essential for patient care;
This sterilizer is suitable for processing a wide range of heat-resistant items, such as surgical instruments, handpieces, and other reusable medical devices. It is not intended for use with items sensitive to high temperatures or moisture, or for sterilizing liquids or electronic devices not specifically approved for autoclave use.
Proper instrument preparation and loading are crucial for effective sterilization. Always adhere to manufacturer’s instructions for instrument cleaning and packaging. The M11’s large chamber capacity optimizes workflow and reduces sterilization turnaround times, supporting efficient practice operations.

Understanding the M11 Ultraclave Components
The M11 Ultraclave features a robust design, encompassing a spacious chamber, intuitive control panel, and integrated water reservoir,
all working in harmony for efficient sterilization processes.
Chamber and Loading Capacity
The Midmark M11 Ultraclave boasts one of the largest chambers available in a tabletop autoclave, significantly optimizing the supply of sterile instruments. This expansive interior minimizes the frequency of sterilization cycles, reducing turnaround time and enhancing workflow efficiency within dental and medical practices.
Proper loading is crucial for effective sterilization; instruments must be arranged to allow free steam circulation throughout the chamber. Overloading can compromise the sterilization process, while underloading may be inefficient.
Carefully consider instrument size and type when loading, ensuring pouches are positioned upright and not compressed. Utilize instrument cassettes or racks to maximize chamber space and maintain proper separation. Refer to the detailed loading guidelines within this manual for specific recommendations to ensure optimal sterilization results and maintain instrument integrity.
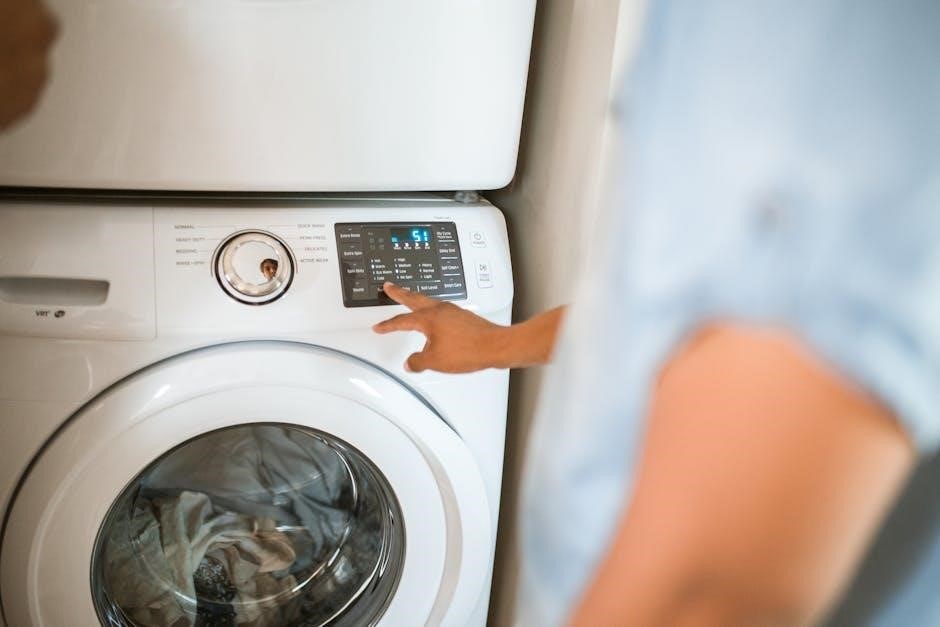
Control Panel Overview
The Midmark M11 Ultraclave features an intuitive control panel designed for ease of operation and precise cycle management. The panel houses essential buttons and indicators for selecting sterilization parameters, initiating cycles, and monitoring progress. Familiarization with these controls is vital for safe and effective use.
Key components include the power switch, cycle start/stop button, and parameter selection keys. These allow operators to customize cycles based on instrument type and sterilization requirements. The control panel also integrates safety features, such as emergency stop functionality.
Refer to Figure 1-3 within the manual for a detailed illustration of button and lamp locations. Understanding the function of each control ensures accurate operation and minimizes the risk of errors. Proper use of the control panel is fundamental to achieving consistent sterilization outcomes.
Display Panel Button/Lamp Locations
The Midmark M11 Ultraclave’s display panel presents a clear and concise interface for monitoring and controlling sterilization cycles. Each button and lamp is strategically positioned for intuitive operation, enhancing workflow efficiency. Understanding the location and function of each element is crucial for proper use.
Key indicators include the “Open the Door” lamp, which illuminates when the door can be safely opened, and lamps indicating cycle status – such as sterilization, drying, and completion. Buttons allow for cycle selection, parameter adjustments, and manual intervention when necessary.
Consult Figure 1-3 in the user manual for a detailed visual guide to button and lamp locations. This diagram provides a clear reference for identifying each control and its corresponding function, ensuring accurate operation and minimizing potential errors during the sterilization process.
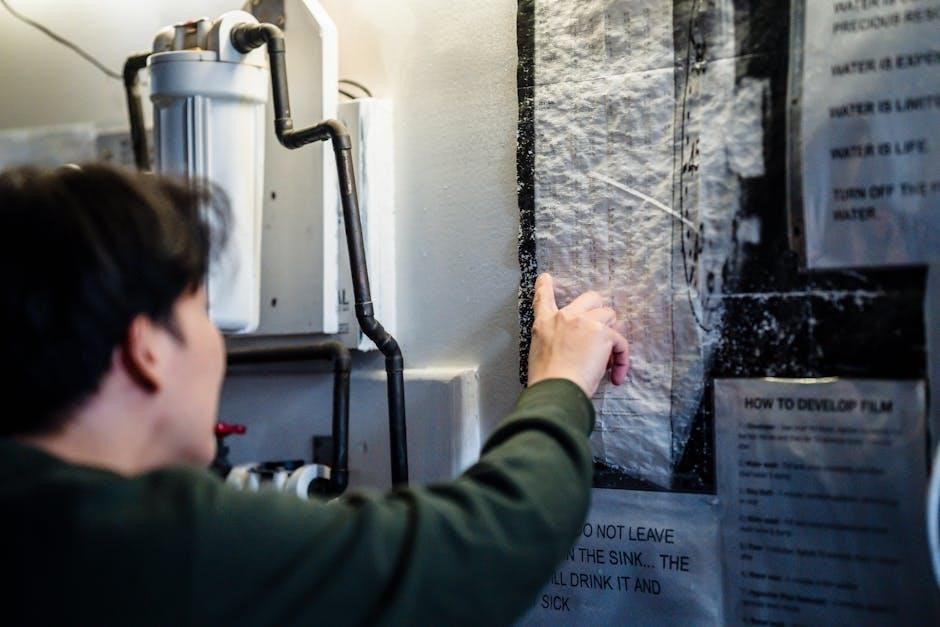
Water Reservoir and Plumbing
The Midmark M11 Ultraclave requires a consistent supply of high-quality water for optimal steam generation and sterilization performance. The integrated water reservoir, easily accessible for filling and maintenance, holds the necessary volume for multiple cycles. Proper water quality is paramount to prevent scaling and corrosion within the system.
Regular monitoring and maintenance of the plumbing connections are essential to ensure leak-free operation. The system is designed for easy connection to a potable water source, but adherence to specified water quality requirements is critical.
Refer to the ‘Water Quality Requirements’ section of this manual for detailed specifications and recommended filtration methods. Maintaining appropriate water purity extends the lifespan of the sterilizer and guarantees effective sterilization results.

Operation Procedures
Proper operation of the Midmark M11 Ultraclave involves a sequential process, beginning with initial setup, followed by instrument loading, cycle selection, and initiating sterilization.
Initial Setup and Installation
Before initial use, carefully unpack the Midmark M11 Ultraclave and inspect for any shipping damage. Ensure the unit is placed on a stable, level surface capable of supporting its weight, with adequate ventilation around all sides.
Connect the sterilizer to a dedicated, properly grounded electrical outlet, verifying the voltage matches the unit’s specifications. Subsequently, establish the water supply connection, utilizing distilled or deionized water to prevent mineral buildup and ensure optimal performance.
Perform a preliminary operational check, including a power-on test and a cycle run with no instruments loaded, to confirm proper functionality. Review and understand all safety precautions detailed in the user manual before proceeding with regular operation.
Proper installation and setup are crucial for safe and effective sterilization, adhering to Midmark’s guidelines for patient and staff safety.
Loading and Preparing Instruments
Prior to loading, instruments must be thoroughly cleaned and inspected for any debris or damage. Ensure instruments are compatible with steam sterilization and arranged to allow for free steam circulation throughout the chamber.
Pouches and wraps should be steam-permeable, and instruments positioned to prevent direct contact with the chamber walls. Avoid overloading the chamber, as this can impede sterilization effectiveness.
Proper instrument preparation is critical for successful sterilization. Utilize instrument cassettes or racks to maintain organization and prevent instrument damage during the cycle.
Always adhere to established infection control protocols and consult the instrument manufacturer’s guidelines for specific sterilization instructions. Incorrect loading or preparation can compromise the sterilization process and pose a risk to patient safety.
Selecting Cycle Parameters
The Midmark M11 Ultraclave offers a variety of pre-programmed sterilization cycles, each designed for specific instrument types and contamination levels. Carefully select the appropriate cycle based on the load being sterilized, considering factors like instrument complexity and bioburden.
Parameters such as temperature, pressure, and cycle time are pre-set for standard cycles, but some models may allow for customization. Ensure selected parameters align with established sterilization guidelines and instrument manufacturer recommendations.
Understanding cycle types – standard, rapid, and specialized – is crucial. Rapid cycles are suitable for certain loads, but may not be appropriate for all instruments. Always verify cycle suitability before initiating sterilization.
Proper parameter selection ensures effective sterilization and prevents instrument damage. Refer to the cycle guide within this manual for detailed information on each cycle type and its intended application.
Starting a Sterilization Cycle
After carefully loading instruments and selecting the appropriate cycle parameters, initiate the sterilization process by pressing the “Start” button on the control panel. The M11 Ultraclave will automatically begin the pre-cycle phase, including purging air from the chamber via the pulse vacuum system.
Monitor the display panel for cycle progress and any error messages. The display will indicate the current phase – fill, heat-up, sterilization, and exhaust. Do not interrupt the cycle unless an error occurs or manual intervention is necessary.
Avoid opening the door during the sterilization phase, as this compromises the process and renders the load unsterile. The “Door Open” lamp will illuminate if the door is inadvertently opened during the cycle.
Once the cycle is complete, allow the drying cycle to finish before removing the instruments. Ensure instruments are cool to the touch before handling to prevent burns.

Cycle Types and Functions
The Midmark M11 Ultraclave offers diverse sterilization cycles, including standard, rapid, and drying options, alongside a pulse vacuum system for optimal air removal and effective sterilization.
Standard Sterilization Cycles
Standard sterilization cycles on the Midmark M11 Ultraclave are designed for general instrument processing, utilizing a combination of steam, temperature, and time to achieve sterilization. These cycles typically involve a pre-vacuum phase to efficiently remove air from the chamber, ensuring steam penetration to all surfaces of the instruments.
The standard cycle parameters generally include temperatures of 121°C (250°F) with a sterilization time of 30 minutes, or 132°C (270°F) with a shorter sterilization time of 15-20 minutes, depending on the instrument load and packaging. Proper loading is crucial for effective sterilization; instruments should be separated to allow steam circulation.
Following the sterilization phase, a drying cycle automatically initiates, utilizing heated air to remove moisture from the instruments, preventing corrosion and ensuring they are ready for immediate use. Always verify cycle completion and proper drying before removing instruments from the chamber.
Rapid Sterilization Cycles

The Midmark M11 Ultraclave offers rapid sterilization cycles for situations demanding quicker turnaround times, while still maintaining a high level of sterilization assurance. These cycles utilize elevated temperatures and optimized steam pressure to reduce cycle duration, typically for smaller, less complex instrument loads.
Rapid cycles generally operate at 132°C (270°F) with a reduced sterilization time of approximately 10-15 minutes, depending on the selected program and instrument packaging. It’s crucial to understand that rapid cycles are best suited for specific applications and may not be appropriate for all instrument types or heavily soiled items.
Always verify instrument compatibility and follow recommended guidelines for load configuration when utilizing rapid cycles. Proper pre-vacuum and drying phases are still incorporated to ensure complete steam penetration and instrument readiness. Careful monitoring of cycle parameters is essential for consistent results.
Drying Cycle Operation
The Midmark M11 Ultraclave’s drying cycle initiates automatically following the completion of the sterilization phase, ensuring instruments are thoroughly dried and ready for immediate use or storage. This cycle utilizes a combination of vacuum and heated chamber air to efficiently remove moisture from instrument lumens and surfaces.
During the drying phase, the door remains closed, and the internal chamber temperature is maintained, facilitating evaporation. The duration of the drying cycle is adjustable based on instrument load size and packaging materials, typically ranging from 20 to 60 minutes.
Proper drying is critical to prevent corrosion and maintain instrument functionality. The system monitors chamber conditions to optimize drying performance. Manually opening the door during the drying cycle is discouraged, as it can compromise the drying process and potentially re-contaminate the sterilized load.
Pulse Vacuum System Explained
The Midmark M11 Ultraclave utilizes a sophisticated pulse vacuum system to achieve optimal steam penetration during the sterilization cycle. Unlike traditional vacuum systems, the pulse vacuum operates in cycles, creating intermittent vacuum pulses followed by brief air admissions. This process effectively removes air from the chamber and instrument lumens, ensuring complete steam contact.
The pulsing action disrupts the formation of stable air pockets, which can hinder sterilization. This system is particularly crucial for porous loads and instruments with complex geometries. The M11 monitors vacuum levels throughout the cycle, alerting the operator if insufficient vacuum is achieved.
Proper vacuum function is essential for successful sterilization. Regular maintenance and monitoring of the vacuum system are vital to ensure consistent performance and compliance with sterilization standards.

Maintenance and Troubleshooting
Regular cleaning, adherence to water quality standards, and prompt error resolution are vital for maintaining the M11 Ultraclave’s performance and longevity,
ensuring reliable sterilization cycles.
Following outlined procedures for routine upkeep and addressing common issues will maximize the sterilizer’s lifespan and minimize downtime within your practice.
Routine Cleaning Procedures
Consistent and thorough cleaning is paramount for maintaining the M11 Ultraclave’s functionality and preventing potential contamination. Daily, wipe down the exterior surfaces with a mild, non-abrasive detergent and water solution, ensuring all spills are immediately addressed.
The chamber requires regular cleaning to remove debris and prevent corrosion; after each use, or at least daily, wipe the chamber interior with a damp cloth. For stubborn residue, utilize a cleaning solution specifically designed for autoclaves, following the manufacturer’s instructions carefully.
Pay close attention to the door gasket, ensuring it is clean and free of tears or damage, as this is critical for maintaining proper sealing during sterilization cycles; Inspect and clean the water reservoir regularly to prevent scale buildup and maintain water quality. Always disconnect the unit from the power source before performing any cleaning procedures, prioritizing safety.
Refer to the full manual for detailed instructions on specific cleaning agents and procedures, ensuring compatibility with the M11 Ultraclave’s materials and components.
Water Quality Requirements
Maintaining optimal water quality is crucial for the M11 Ultraclave’s performance and longevity, preventing scale buildup and ensuring effective sterilization. The unit requires distilled or deionized water to minimize mineral deposits that can compromise the heating element and internal components.
Tap water is generally not recommended due to its mineral content, which can lead to scaling and reduced efficiency. Regularly monitor the Total Dissolved Solids (TDS) level of the water used, ensuring it remains within the manufacturer’s specified limits.
Periodic flushing of the water reservoir and plumbing lines is essential to remove any accumulated sediment or impurities. Consider utilizing a water filtration system to further enhance water purity and reduce the frequency of reservoir cleaning.
Always consult the full user manual for specific water quality parameters and recommended testing procedures, ensuring compliance with Midmark’s guidelines for optimal operation and preventing potential damage.
Troubleshooting Common Errors
When encountering operational issues with the M11 Ultraclave, a systematic troubleshooting approach is recommended. Common errors include cycle failures, door locking problems, and display panel malfunctions. First, verify proper power supply and water levels before investigating further.
If the door fails to open, check for active cycles or error messages indicating a safety lock. Refer to the manual for instructions on manually opening the door in emergency situations. For cycle failures, examine the error code displayed, as it provides clues to the underlying issue.
Inspect the heating element’s functionality and ensure proper vacuum operation. Consult the rescuebiomed.com website for additional troubleshooting guides and resources. If issues persist, contact qualified service personnel for assistance, avoiding unauthorized repairs.
Always document error codes and attempted solutions for efficient service calls and to prevent recurrence of the problem.
Heating Element Functionality
The Midmark M11 Ultraclave utilizes a robust heating element to generate the steam necessary for effective sterilization. This element is energized intermittently during cycles to maintain precise temperature control and prevent overheating. Monitoring its performance is crucial for consistent sterilization results.
The heating element’s operation is governed by the Display PC Board, which regulates power delivery based on cycle parameters and temperature feedback. Intermittent energizing ensures efficient energy use and prolongs the element’s lifespan.
Regular maintenance, including descaling to remove mineral buildup, is essential for optimal heating element functionality. If the element fails, the sterilizer will likely display an error code, requiring professional repair or replacement. Proper water quality significantly impacts element longevity.
Always disconnect power before inspecting or servicing the heating element, adhering to strict safety protocols.
Advanced Features and Settings
The M11 Ultraclave offers data logging for cycle tracking, alongside specialized settings. Access to the Display PC Board allows for customized operation,
and manual door override is available during specific cycle phases.
Data Logging and Reporting
The Midmark M11 Ultraclave incorporates a robust data logging system, crucial for maintaining comprehensive sterilization records. This feature meticulously tracks essential cycle parameters, including date, time, cycle type, temperature, and pressure, providing a detailed audit trail for quality assurance and regulatory compliance.
Stored data can be accessed and reviewed directly on the unit, or potentially downloaded for more extensive analysis and reporting, depending on the specific model and software capabilities. Accurate record-keeping is paramount in healthcare settings, and the M11’s data logging functionality streamlines this process, ensuring accountability and traceability.
Regular review of logged data allows for identification of any potential deviations from established sterilization protocols, facilitating proactive maintenance and preventing future issues. This capability is vital for infection control and maintaining the highest standards of patient safety within medical and dental practices.
Special Tool List
Performing maintenance and repairs on the Midmark M11 Ultraclave often requires specific tools to ensure safe and effective procedures. While routine cleaning needs minimal equipment, more complex servicing demands a dedicated toolkit for optimal results. This list outlines essential tools for qualified technicians.
Commonly required tools include a variety of screwdrivers (Phillips and flathead), pliers, wrenches (various sizes), and a multimeter for electrical testing. Additionally, specialized tools like a torque wrench, specific for certain fastener tightening, and potentially a pressure gauge for verifying system performance may be necessary.
Accessing internal components often necessitates specialized socket sets and potentially unique Midmark-specific tools. Always refer to the service manual for detailed instructions and the precise tool requirements for each repair task. Using the correct tools prevents damage and ensures the longevity of the M11 Ultraclave.
Display PC Board Information

The Display PC Board is a critical component of the Midmark M11 Ultraclave, responsible for controlling the user interface and displaying vital cycle information. It manages the operation of the display panel buttons and lamps, providing feedback on the sterilization process. Understanding its function is key for troubleshooting.
This board receives inputs from various sensors within the autoclave, processing data to accurately represent cycle parameters like temperature, pressure, and time. Any malfunction within the Display PC Board can lead to inaccurate readings or complete display failure, hindering operation.

When troubleshooting display issues, always verify power supply and connections first. Further diagnostics may require a qualified technician to assess the board for component failures. Replacement of the Display PC Board should only be performed by trained personnel, following Midmark’s guidelines.
Manually Opening the Door During Cycle
Manually opening the Midmark M11 Ultraclave door during a sterilization cycle is strongly discouraged and should only be performed in emergency situations. Interrupting a cycle can compromise sterilization effectiveness and potentially release contaminated steam. However, the system allows for manual override under specific conditions.
If necessary, the “Open the Door” lamp will illuminate, indicating a safe point for intervention; This typically occurs during the drying cycle or after the cycle has completed. Attempting to open the door before this lamp activates could result in scalding or exposure to unsterilized materials.
Prior to manual opening, ensure appropriate personal protective equipment is worn. Carefully vent any remaining pressure before fully opening the door. Document any interrupted cycles and re-process instruments to ensure complete sterilization.